You’re leaving the office, but you still need prospective-client calls to reach your mobile after 6 p.m. One set of AT&T instructions says to enter a code, another asks for an access number and PIN, and a third sends you to an online portal. The right method starts with which AT&T service carries your number, not which instructions appear first in a search.
For a personal injury firm, forwarding needs to do more than produce a confirmation tone. Calls must reach the intended answering destination, qualified callers must have a route to staff, and someone must know how to restore the original setup.
Identify Which AT&T Line You Have
AT&T has separate forwarding methods for traditional local home phone, digital AT&T Phone, and wireless. A desk phone’s appearance won’t reliably identify its underlying service. Check the product listed on your account before touching a code.
AT&T’s traditional home-phone support page documents an optional Remote Call Forwarding feature for eligible traditional local service, using an assigned special-access number and a PIN provided after enrollment. It doesn’t establish that every business line qualifies, and there’s no universal access number or PIN that works for everyone.
AT&T line types and their remote forwarding method
| Line type | Method for changing forwarding | What you need |
|---|---|---|
| Traditional local home phone | Remote Call Forwarding: call the assigned access number, enter the line number and PIN, then 72# to turn on or 73# to turn off | Assigned access number, home number, PIN, destination number |
| Digital AT&T Phone | Phone Portal, then the Features area to manage Call Forwarding | Member ID and account permissions |
| AT&T wireless | Change settings only from the wireless phone itself; online changes aren’t allowed | The handset |
These are provider-documented options, not a claim that Lighthouse has personally tested every AT&T service. A firm using a business product should have AT&T confirm the supported method for that exact line rather than treating home-phone instructions as proof of eligibility.
Practical rule: Identify the service behind the number, not the telephone sitting on the desk.
If you’re arranging coverage while away, BubblyPhone’s AT&T call forwarding for travelers provides useful context for planning where calls should go. Keep that destination decision separate from identifying your AT&T product.
Start with the bill’s service description, then check the account’s feature details. If the product name is unclear, ask AT&T or your authorized phone administrator to identify it before proceeding. That short conversation is more useful than trying several unrelated activation codes.
Confirm Availability and Gather Access Details
A line can forward calls and still reject every attempt to change that forwarding from another phone. AT&T has long treated the forwarding feature and remote control of it as separate items on an account, as its consumer service schedule shows. The legacy remote call forwarding service is also no longer sold to most new customers, so an older line that still carries it is not proof a newer account can buy it. If the firm depends on changing forwarding away from the office, confirm current availability with AT&T before building a plan around the feature.
Prepare the account details
For eligible traditional local service, gather these before calling the access number:
- Authorized account holder: Know who can approve changes or speak to AT&T about the account.
- Assigned special-access number: Retrieve the number associated with this line, not a regional access number copied from a generic guide.
- Traditional home telephone number: Check the line you intend to redirect against the account record.
- Remote-access PIN: Use the credential issued for this feature at enrollment, not a voicemail or account password.
- Destination number: Verify it against a separate trusted record, including the dialing format the access system expects.
Store the PIN separately from the telephone numbers. Never post a PIN, password, or account number publicly, including in support comments or screenshots.
Having ordinary forwarding on the line does not automatically mean you can control it from somewhere else.
Use the bill to establish the product name and the account records to confirm feature status. If remote access is absent, contact AT&T or the firm’s authorized administrator to verify eligibility or request a supported option. If a credential is missing, stop and recover it through the account holder rather than guessing.
A call forwarding setup guide helps organize the destination side of the handoff, such as confirming the number that will receive the firm’s forwarded calls. It does not replace AT&T’s provisioning requirements or supply an account-specific access number.
How to Turn On Forwarding From a Traditional Home Phone
This is a provider-documented off-site procedure for eligible traditional AT&T local home phone service, not wireless. You need a phone that sends touch-tone signals, with a keypad available during the call, rather than a rotary device.
AT&T’s remote-access instructions specify the assigned access number, a 7- or 10-digit home telephone number, the PIN, and 72# for activation. Enter the destination with 1 plus the area code when the originating service requires it, then follow the confirmation prompts.
Activate through the assigned access number
-
Confirm eligibility before dialing. Verify that the line is traditional local home phone and that remote forwarding is active on the account. A familiar-looking desk phone isn’t enough to establish either point.
-
Call the assigned special-access number from a touch-tone phone. Don’t substitute another customer’s number or assume that an access number for a different region will recognize your account.
-
Enter the AT&T home telephone number when prompted. Use the format requested by the system. Enter the number being forwarded, not the answering destination.
-
Supply the remote-access PIN. If the system rejects it, check the authorized account record rather than repeatedly guessing or trying an unrelated voicemail PIN.
-
Enter 72# to activate forwarding. Use this within the authenticated remote-access flow. Dialing a code without reaching that system isn’t the same operation.
-
Enter the destination number using the required dialing format. Read it from a trusted record so you don’t accidentally route prospective clients to a mistyped number.
-
Listen and complete the voice prompts. Menus and availability depend on the exact service. Don’t hang up just because another guide describes a shorter sequence.
-
Hang up, then call the firm’s number from a different phone, preferably on an unrelated carrier. Confirm that the intended answering endpoint receives the call.
Keep local activation separate from remote access
The graphic below depicts activation from a traditional handset at the original line. Its local star-code workflow isn’t the remote-access procedure above and shouldn’t replace the assigned-access-number sequence.
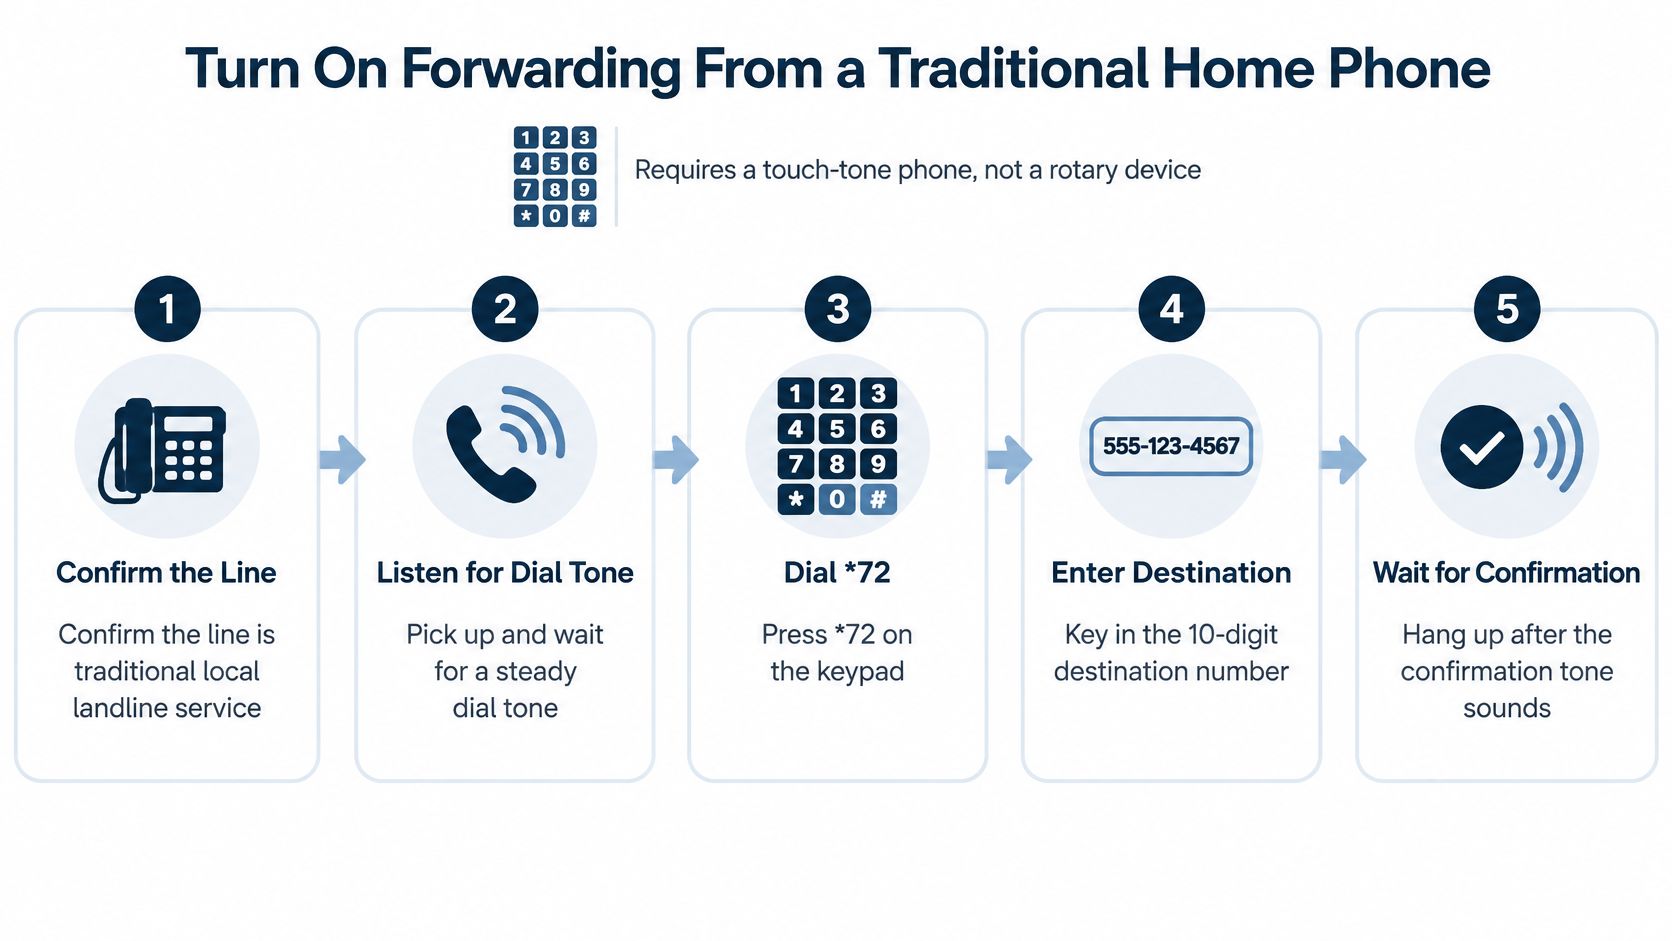
To deactivate eligible traditional remote forwarding, use the same access and authentication flow, enter 73#, and follow the prompts to confirm. Make another inbound test call afterward.
If the destination doesn’t answer or the change fails, check the destination and service-specific prompts before repeating activation. Don’t start swapping in wireless codes.
For a firm deciding whether to keep this arrangement or replace its phone system, the landline and VoIP comparison from Nutmeg Technologies provides useful planning context. For tonight’s routing change, work with the service you currently have.
Managing Forwarding on a Digital AT&T Phone Account
Digital AT&T Phone uses an online management path, not the traditional line’s telephone-access credentials. The important starting point is the member ID associated with the correct account.
AT&T’s Phone Portal documentation directs eligible users to sign in with their member ID, review the available options, and select the Features area to manage Call Forwarding. Available controls and account eligibility can differ, so follow the prompts your account shows.
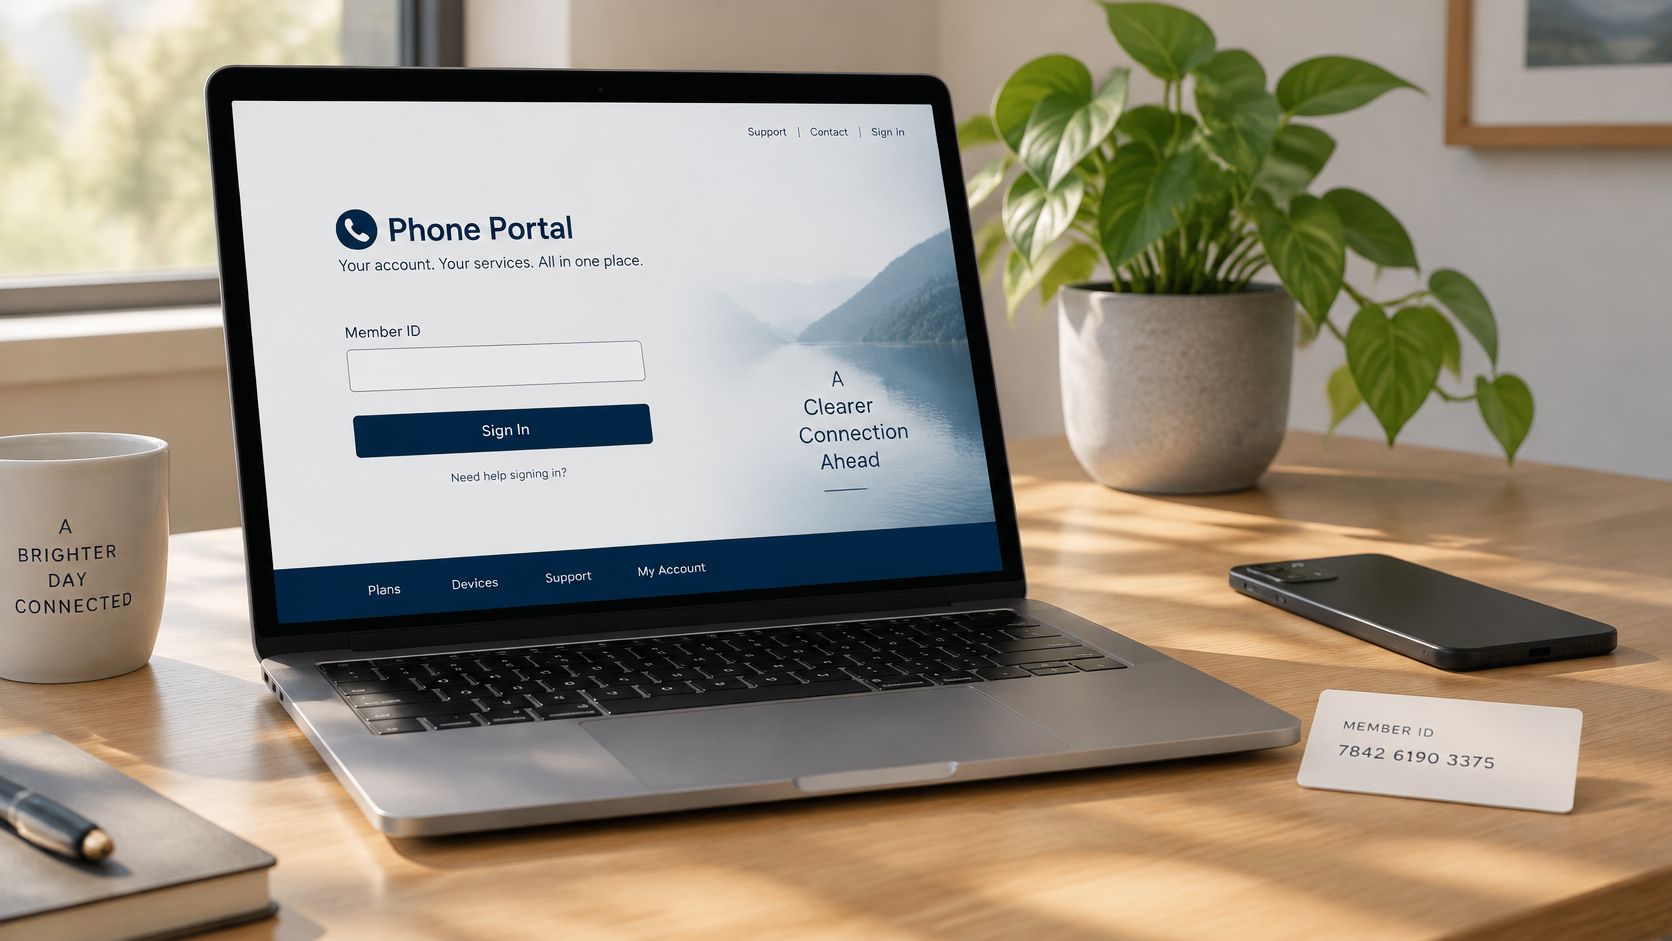
Use the account’s available controls
- Locate the member ID: Confirm that it belongs to the account carrying the firm’s telephone number.
- Sign in to Phone Portal: Review the options available for that account rather than assuming another user’s menu will match.
- Open Features: Find Call Forwarding and follow the displayed instructions for changing the destination.
- Complete the prompts: Use whatever confirmation or save controls the account presents, then verify delivery with an inbound call.
Don’t assume a particular button label or confirmation screen. The documented path establishes where forwarding is managed, not a universal screen-by-screen interface.
Resolve access problems before changing routes
A missing member ID or insufficient account permissions is an authorization problem. Have the authorized administrator establish access or contact AT&T; an employee’s ability to view a bill doesn’t necessarily establish permission to alter routing.
A missing Features area or Call Forwarding option is a different blocker. Confirm that you’re viewing the correct telephone account, then ask AT&T to verify which controls that service supports. Dialing traditional remote-access codes won’t repair a missing portal permission.
If several people manage answering, messaging, and routing, MR2 Solutions’ unified communications guide offers broader context for coordinating those responsibilities. Keep responsibility for this change explicit: name who edits the route and who verifies it.
An on-screen confirmation only confirms the management action. Call the public-facing office number and check that someone, or the intended answering system, receives it before you leave the arrangement unattended.
Wireless Lines and Common Mistakes That Break Forwarding
Most failed forwarding attempts come from dialing the code meant for a different AT&T service. AT&T splits forwarding control across three separate methods: traditional home lines use the remote access number and PIN with the activation and cancellation codes, digital phone accounts are managed through the online portal, and wireless forwarding is changed on the handset itself. A normal dial tone doesn’t establish that any of them took effect.
AT&T’s wireless support documentation says wireless forwarding settings can be changed only from the wireless phone itself, not online. The traditional home-line access-number-and-PIN sequence isn’t a verified wireless procedure.
AT&T Wireless Home Phone is a fourth case with its own device-specific codes. Per AT&T’s Wireless Home Phone device instructions, unconditional forwarding on that product uses *21* followed by the 10-digit destination and #, cancellation uses #21#, and you must wait at least three seconds for the confirmation tone before hanging up. Those codes apply to that product specifically and don’t substitute for the traditional remote-access flow or wireless handset controls.
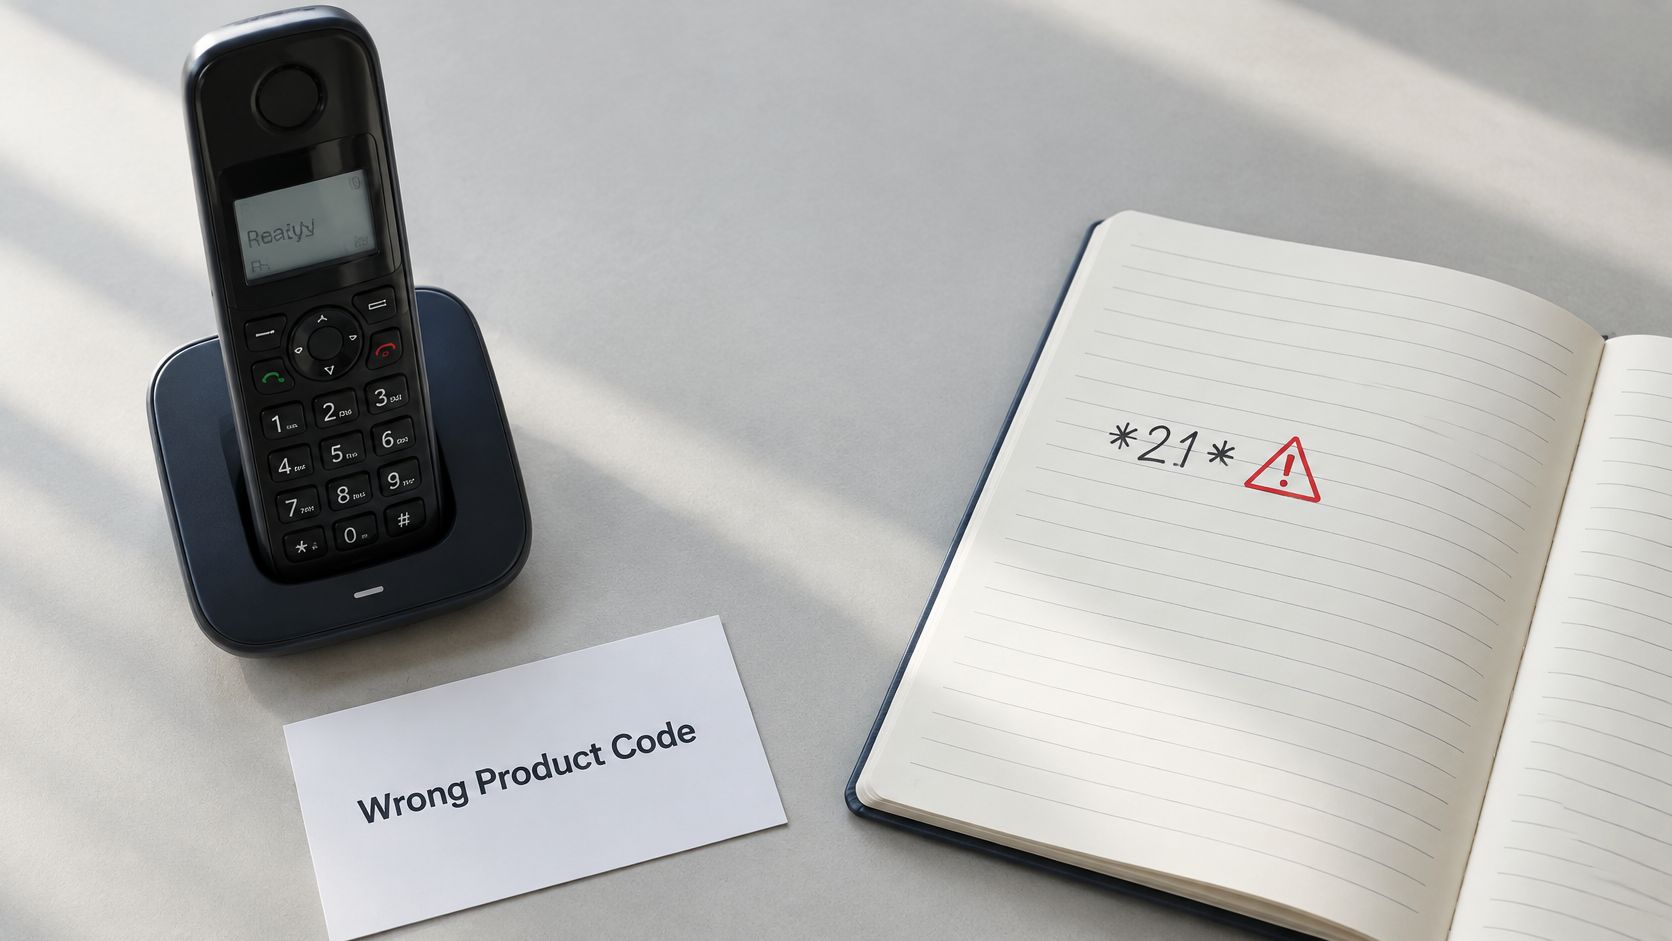
Forwarding errors, causes and fixes
| Symptom | Likely cause | Fix |
|---|---|---|
| Wireless codes dialed on a home line, or the reverse | Code from the wrong AT&T product family | Use 72# and 73# only within the eligible traditional remote-access flow; manage wireless forwarding on the handset |
| Dial tone heard but no forwarding change | The code didn’t create a usable configuration | Confirm the product type and use its matching method |
| Access call fails or doesn’t recognize the line | Wrong assigned or regional access number | Retrieve the line’s assigned number from authorized records |
| Destination doesn’t receive calls | Missing required 1 plus area code, or incorrect destination | Check the service’s dialing format and verify the destination |
| PIN is rejected | Incorrect credential or remote access not provisioned | Verify enrollment and credentials with AT&T |
| Calls ring back to the office line | Destination points back to the forwarding line, creating a loop | Choose a separate destination that doesn’t forward back |
A loop can also arise when an answering destination transfers a caller back to the same public number that’s forwarding outward. Give staff a distinct, supported return route rather than recycling the incoming route.
Our forwarding and transfer guide explains the difference between sending calls to Lighthouse and connecting them back to staff. For wireless handset steps, use the separate AT&T wireless call forwarding guide, not the traditional remote-access procedure.
Test Each Change Before You Rely on It
A confirmation prompt isn’t proof that calls will arrive. Treat forwarding as a routing change with a tested reversal, not a setting you enable and forget.
AT&T’s Wireless Home Phone instructions document that product’s three-second confirmation wait and its distinct activation and cancellation codes. That product-specific requirement is why testing must match the service rather than rely on a generic AT&T code list.
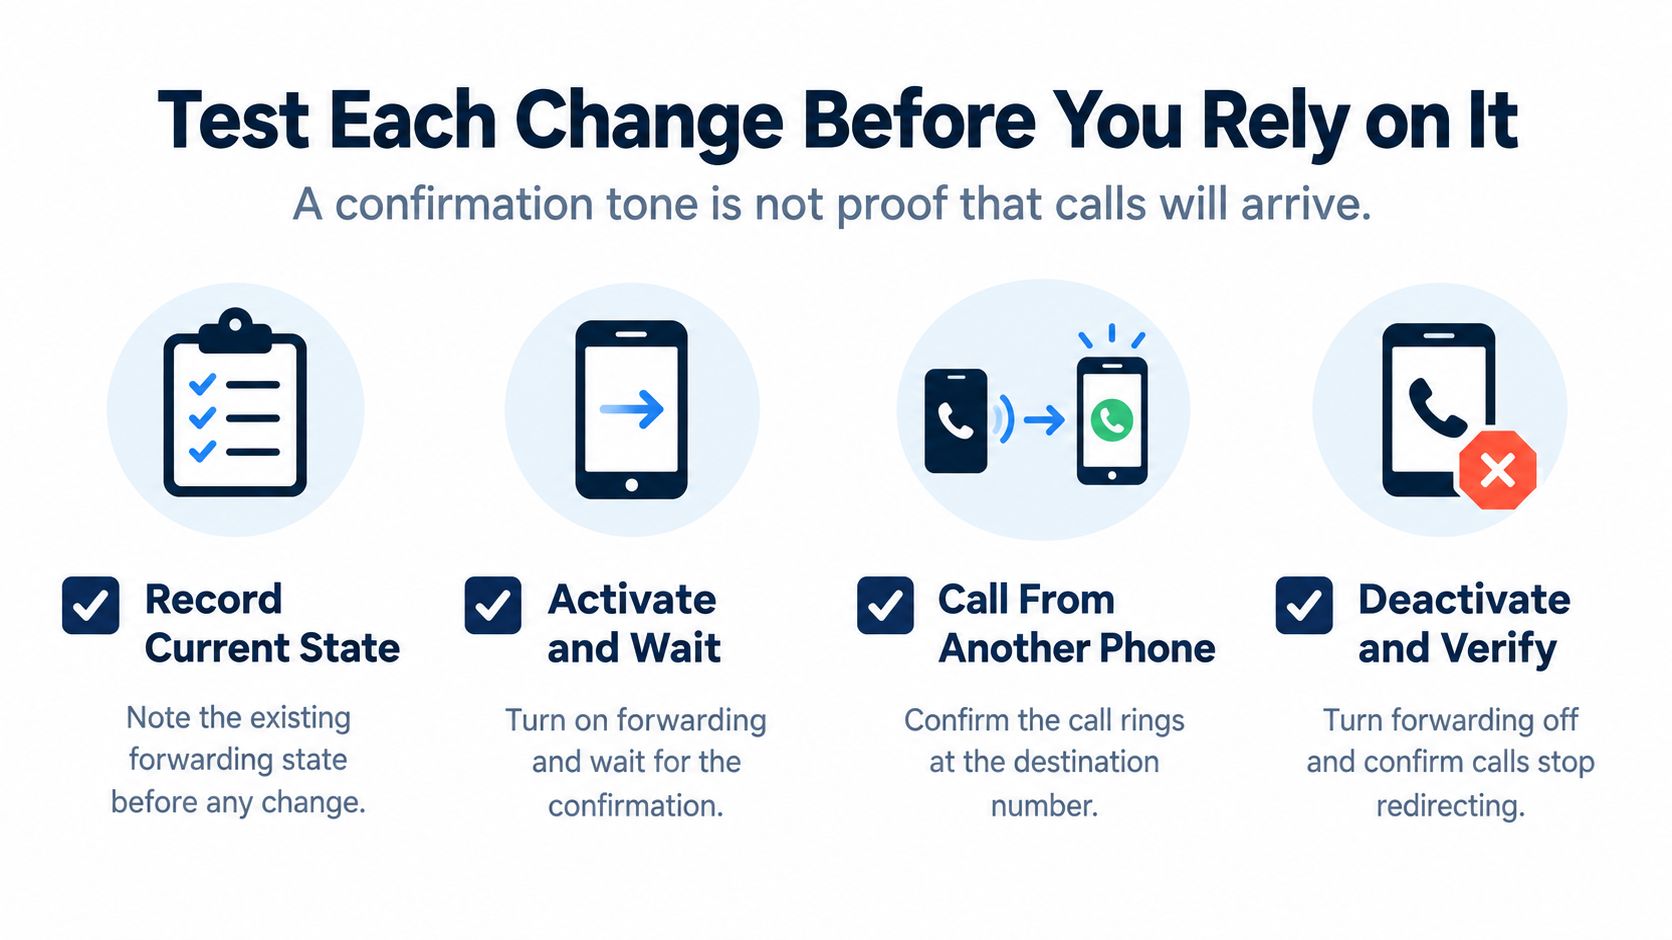
Verify delivery and restoration
- Record the starting state: Note the original route, destination, and person responsible for restoring it.
- Activate and confirm: Complete the service’s prompts before testing.
- Test incoming calls: Place at least two calls from different phones at different times. Check destination answering, greeting, and caller-ID presentation.
- Test rollback: Disable forwarding with the appropriate traditional access flow, portal control, or handset setting. Verify that calls return to the original route.
If you want forwarding active afterward, re-enable it and validate the final state. Log activation-test pass or fail, time to restore the original route, and the share of failed test calls. These are your firm’s operational measures, not an AT&T-wide reliability benchmark.
Once routing works, check whether clients can reach you after hours. We provide setup and forwarding-and-transfer guides for sending calls outward and connecting them back to staff.
If remote control is unavailable, contact AT&T or your authorized phone administrator to verify eligibility or add a supported feature. Arrange an approved change from the original line or through the provider if necessary. Don’t improvise a bypass.
Lighthouse Legal answers your line 24/7, screens prospective clients against your intake criteria, and connects qualified callers directly to you. Once your AT&T forwarding route is verified, visit Lighthouse Legal to discuss an answering and intake workflow for after-hours, weekend, or overflow calls.